
A liquid ring vacuum pump is a powerful and steadfast piece of equipment that, if well maintained, can provide years of dependable performance. Whether you purchase a large or small unit, you can rely on a vacuum pump for smooth, consistent and relatively quiet operation for many months on end between each inspection.
The moment you do spot something out of the ordinary, it is crucial to stop the pump and rectify the matter. Your pro-activeness as a vacuum pump owner could mean the difference between a short-lived and long-lasting vacuum pump.
Liquid ring vacuum pump repair work can be costly and cumbersome if system issues are allowed to spiral out of hand. Therefore, it is important to inspect your vacuum pump on a regular basis to ensure that it remains in optimal condition. If and when problems do arise, it is crucial to stop the vacuum and inspect the matter the moment something comes to your attention.
To take these kinds of steps, however, it is necessary to understand the components of a liquid ring vacuum pump. This article details the basic functions, components, installation process and maintenance steps required for a liquid ring vacuum pump.
The Functions
Liquid ring vacuum pump operation is a relatively straightforward process that can be divided into three simple stages. Basically, the gas is brought in, pressurized and released. The process can be summarized as follows:
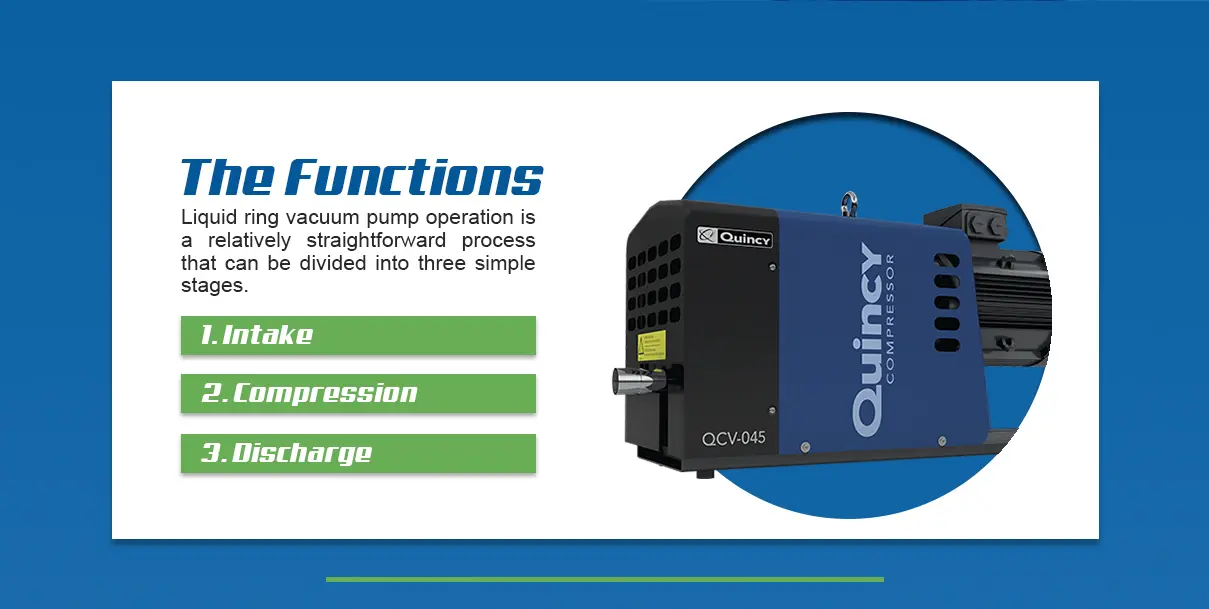
- Intake: The intake portion of a liquid ring vacuum pump is where air or gas is sucked into the unit. Air is sucked into an opening and pulled into a rotor ring where the compression takes place.
- Compression: The pressurization of air takes place within the liquid-filled rotors that turn inside the ring. As the rotors pass the intake port, air is trapped between the blades and pressurized as the rotor turns.
- Discharge: The turning liquid-filled rotors take the trapped, newly pressurized gas to the discharge port, where the gas is then released.
The Components of a Liquid Ring Vacuum Pump
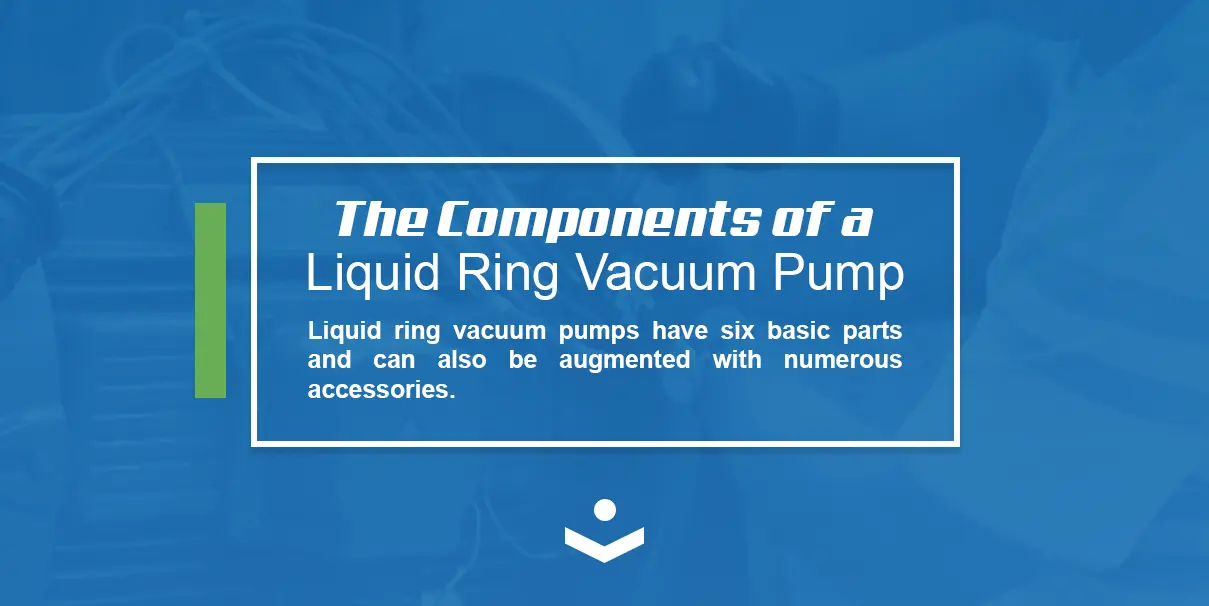
Liquid ring vacuum pumps have six basic parts and can also be augmented with numerous accessories.
Basic Parts
The parts that comprise a liquid ring vacuum pump and perform its key functions are relatively simple. Basically, between the inlet and discharge ports, you have a rotary-equipped inner-cylinder where gas is pressurized within a turning supply of liquid.
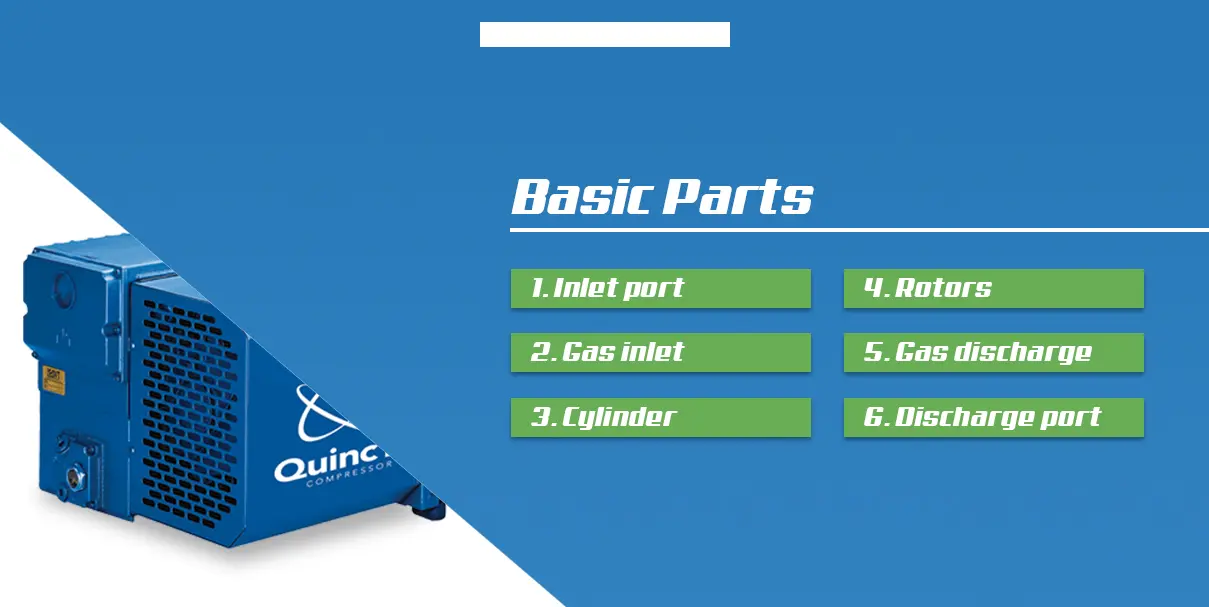
- Inlet port: The inlet port leads gas into the inner-cylinder of the vacuum pump. The inlet port is a passage that opens to the outside of the vacuum and leads to the inner-ring of the cylinder, where gas is released to the liquid-filled rotors.
- Cylinder: Inside the cylinder is where the whole gas vacuuming process takes place. As the rotors turn within the cylinder, the liquid turns along the upper circumference, and this creates a vacuuming effect that sucks in gas from the inlet port.
- Rotors: The rotor component is a ring of blades that turn around continuously within the cylinder. The liquid is contained by the rotor and creates a vacuum effect that pressurizes the incoming gas. It only takes half a revolution for the gas molecules to complete the cycle.
- Gas discharge: On the central component that swivels the rotor is the discharge valve for the newly pressurized gas. Half a revolution from the time that they first enter the cylinder, the gas molecules are discharged through this valve.
- Discharge port: The newly pressurized gas is released through the discharge port, from where the gas is released for its intended purpose. On the outside of the unit, the discharge port is 90 degrees removed from the inlet port.
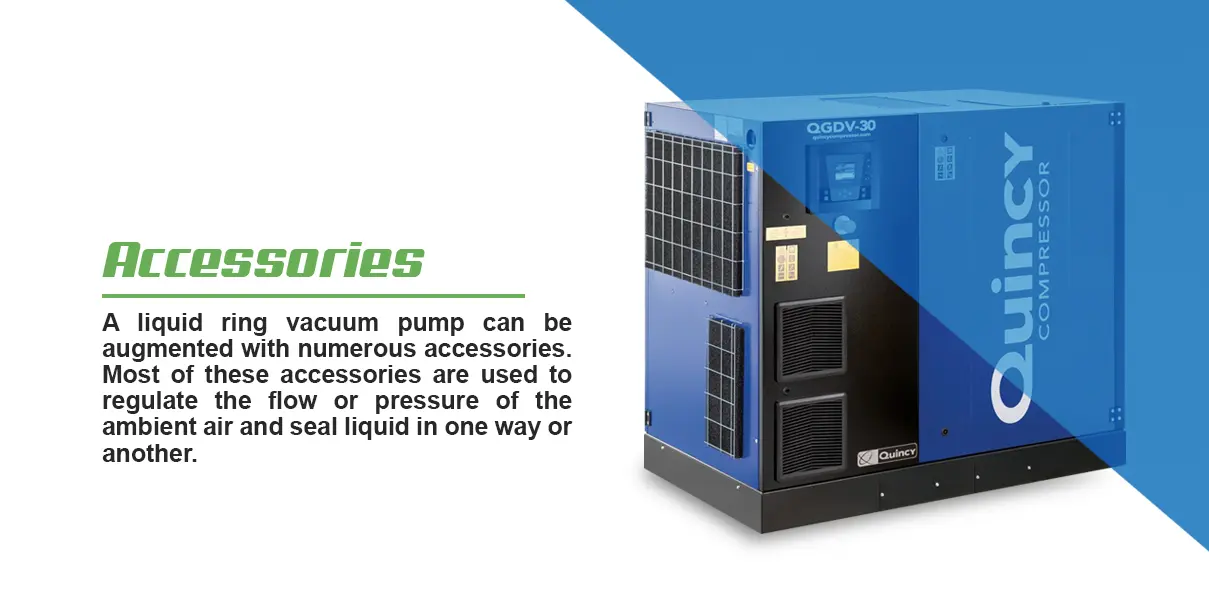
Accessories
A liquid ring vacuum pump can be augmented with numerous accessories. Most of these accessories are used to regulate the flow or pressure of the ambient air and seal liquid in one way or another. The most popular accessories include:
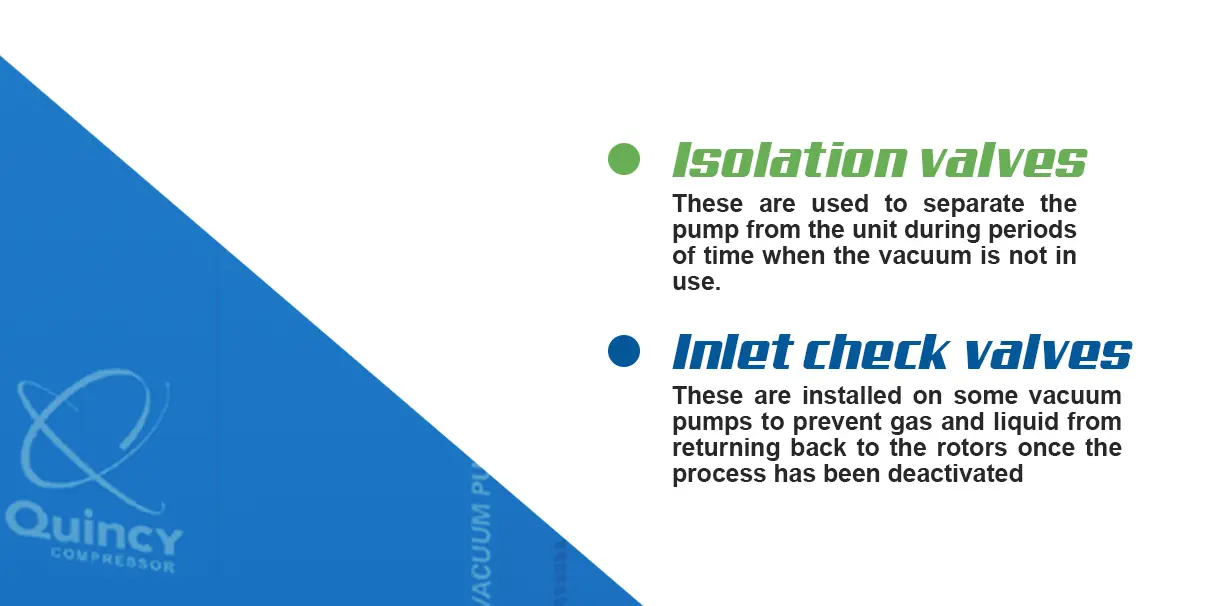
- Isolation valves: These are used to separate the pump from the unit during periods of time when the vacuum is not in use. Butterfly valves are considered one of the more economical options for this purpose.
- Inlet check valves: These are installed on some vacuum pumps to prevent gas and liquid from returning back to the rotors once the process has been deactivated. Basically, this ensures that the exiting gas does thoroughly leave the cylinder.
- Inlet vacuum relief valves: These are one way valves that are installed at the inlet of the pump to prevent the pump from going too deep into vacuum. This way, the ports and inner-wall of the cylinder are protected against harmful elements that could lead to cavitation.
- Flexible connectors: These are installed to prevent vibrations from the pump from making their way down the piping system. With some processes, a slight amount of expansion may be inevitable, and this helps to even the balance.
- Inlet vacuum control valves: True to the name, control valves regulate the flow of ambient air through the inlet port. This controls the amount of gas that is brought into the vacuum during a given time.
- Inlet vacuum gages: These are usually mounted in front of the suction to gauge the vacuum level at the inlet. This helps operators more easily determine what performance is being delivered by their vacuum pump.
- Seal liquid shut-off valves: These are placed to prevent the flow of seal liquid into the pump. This can be especially useful between processes, where liquid might escape and infect the process within the pump.
- Strainers: These are used to filter out solids from the seal liquid. Strainers serve an important function in the purification of what comes out of the vacuum pump by preventing foreign matter from entering into the process.
- Seal liquid flow-control valves: These are put in place to control the rate of flow of the seal liquid to the pump. This way, operators don’t have to worry about an excess liquid flowing to the pump. The most popular design of this accessory is the globe valve.
- Discharge separator tanks: These can be placed in three areas — the floor, the baseplate or by the discharge pipe. The purpose is to separate the seal liquid from the gas being discharged from the vacuum pump.
- Solenoid valves: These are attached to start or halt the passage of seal liquid to the vacuum pump. This allows operators to regulate flow more effectively and control the passage of liquid during each operation.
- Circulating pumps: These are used in systems that operate at high suction pressure for extended working cycles. Circulating pumps also protect against pressure drop in the piping, valves and heat exchanger.
- Heat exchangers: These are installed to lower the heat of the seal liquid, which can get hot during certain processes, especially in humid working conditions or if heating issues originate elsewhere within the system.
Overview of Liquid Ring Vacuum Pump Installation and Startup
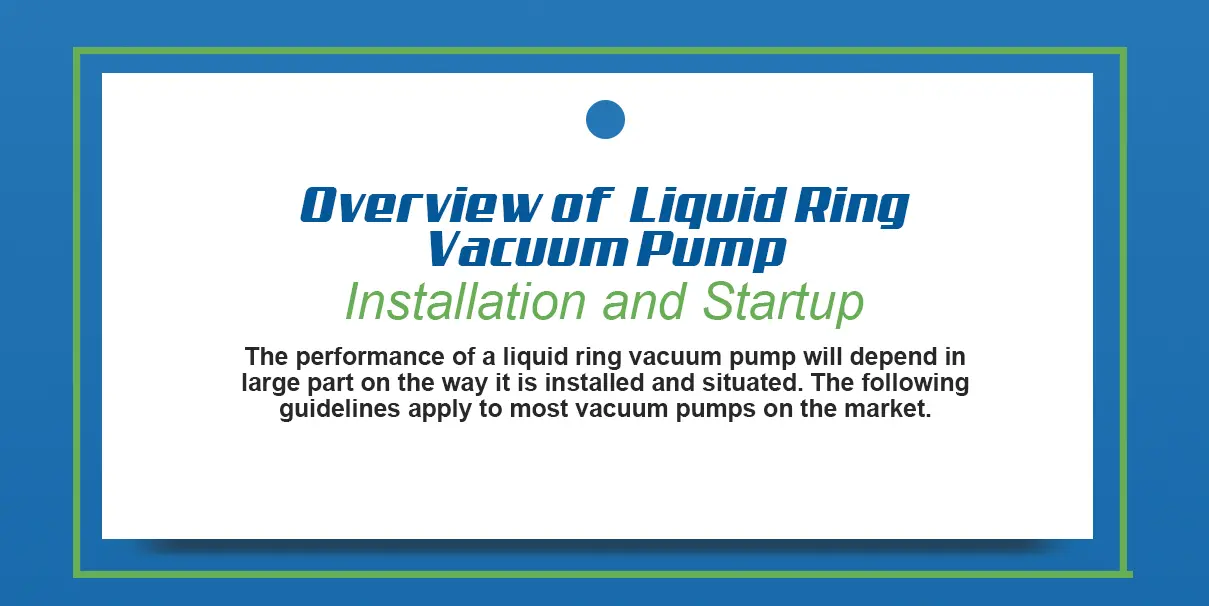
The performance of a liquid ring vacuum pump will depend in large part on the way it is installed and situated. The following guidelines apply to most vacuum pumps on the market. That said, it is always best to check with the manufacturer’s guidelines for a given make or model before you complete an installation and power on your new vacuum pump.
- Unpack carefully: As you first unpack the components of your vacuum pump, handle all the parts with care and only set things down on a flat, even surface with plenty of space. Any mishandling during this stage could result in the misalignment of certain parts. If the pump is attached to a baseplate, lift the assembly by the base, not the pump itself. Make sure that there are no hooks or slings attached as these can cause problems with the alignment of the pump.
- Only run once fully assembled: When you first unpack a vacuum pump, it might be tempting to give the pump a test run, but this is a huge mistake. You should only run the pump once you have the vacuum fully installed and the sealing liquid in place.
- Store safely: Make sure you store the unit in a place where the temperature is moderate, day and night. Never store a vacuum pump in a place where the temperature could drop below freezing as this would cause the sealing liquid to solidify.
- Setting up: Even though liquid-ring vacuum pumps run smoothly and slowly, they need to be situated on stable surfaces, preferably floors or concrete mounts. If the vacuum is small, place it on a floor or skid. If the vacuum is larger, place it on a concrete pad.
- Inspect the piping: Make sure that the pipes and joints are properly aligned and free of stress before you proceed. While these parts are usually tested in the factory, stresses can occur during shipment.
- Install and align the sheaves: If the pump uses a V-belt, install and align the sheaves before setting the tension on the belt drive. Place the belts over the sheaves and into the grooves.
- Inspect the belt tension: Check the tension of the belts and recheck after every few days of use of the vacuum pump. If the tension is off, the vacuum is liable to make squealing noises at startup. If you intend to shut the vacuum down for an extended period, remove the belts from the tension.
- Beware of heat: Never allow the vacuum pump to operate in humid environments or to generate internal temperatures higher than 140°F. Extremely hot temperatures can wear away at the rubber of the belts and render them ineffective. Never coat the sheaves with oil, which is also bad for rubber belts. Never mix different types of belts or switch between different grooves. Only use matching belts in your vacuum pump.
- Prepare piping for the seal liquid: A liquid ring vacuum pump relies on a steady supply of seal liquid, usually water, which comes into the vacuum through a pump that connects to the casing. Piping is manufactured in three different designs — once-through, partial recovery and closed loop. Each of these designs consists of a liquid source, a flow regulator, a flow shutoff and a gas/liquid separator.
- Connect the pipes: Take off the covers on the pump openings, clear the openings of any dirt that might be present and connect the piping.
- Inspect the flange holes: Make sure that the flange holes are properly aligned and that the flanges fit into place, free of strain. During the first few weeks of use, keep a protective mesh on the inlet of the pump.
- Connect the power: Connect the power cord of the vacuum pump to a nearby power supply. Power on the unit and observe how it initially performs. Check the manufacturer specifications to make sure that the performance goes according to specs.
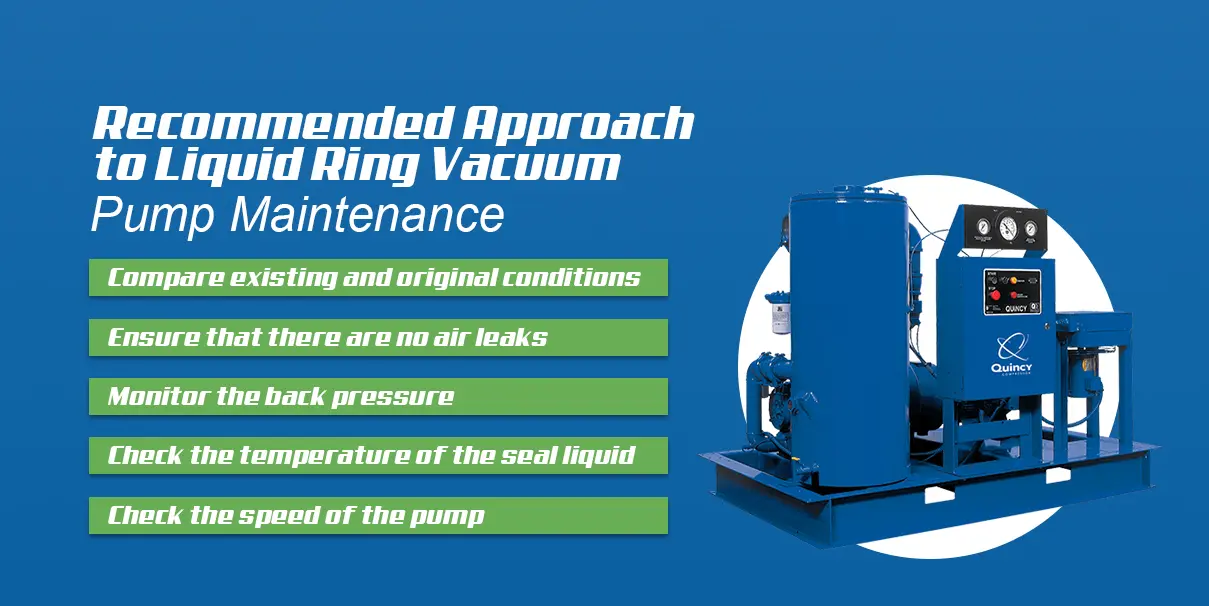
Recommended Approach to Liquid Ring Vacuum Pump Maintenance
Liquid-ring vacuum pumps are built for long-lasting, high powered performances and can generally withstand a range of pressure levels. That said, a vacuum pump does have its limit. Behavior traits that seem out of the ordinary could easily be indicative of developing troubles inside. As such, it is essential to monitor the unit and take note of how it performs.
- Compare existing and original conditions: When you examine the performance of your liquid-ring vacuum pump, compare its current conditions to those are specified in the original plan. Are the temperatures the same or have they raised due to system pressure or stress? Has the gas composition remained the same or has it changed due to issues with the seal liquid?
- Ensure that there are no air leaks: For the vacuum pump to run effectively, you cannot have air leaks in the system. Air leaks are bad for system efficiency and waste energy as well as money. To ensure that there are no air leaks present, submit the vacuum to an Ultrasonic leak-detector test, whereby vibrations made from leaks are converted into alarm noises.
- Monitor the back pressure: If external factors cause a system malfunction, it could be due to excess back pressure. Make sure you restrict the back pressure to the design conditions of the vacuum pump. If the back pressure gets too high, it could affect the horsepower and diminish the capabilities of the pump.
- Check the temperature of the seal liquid: Inspect the seal liquid to ensure that it remains at an ideal temperature throughout the process. Use a thermometer to test the water temperature to see whether it remains under the acceptable threshold. Also check the heat exchanger and the recirculating pump for signs of fouling.
- Check the speed of the pump: After several months of operation, the pump might slowly go off pace due to loosening belt tension. Inspect the tension of the belts to ensure that they haven’t slipped from their grooves. Use a tachometer to test the speed of the pump.
Liquid Ring Vacuum Pump Maintenance Checklist
To ensure proper system health and efficient performance from your vacuum pump, you must inspect the pump on a regular basis. If you detect problems with the unit, you can perform tests and possibly remedy the situation on the spot. Applicable testing methods may include the use of a spectrometer, an Ultrasonic leak detector or the use of solvents such as acetone or alcohol. Acetone, if sprayed onto a leaky portion of a vacuum pump, will prompt a jump in vacuum-gauge pressure when it enters the system.
The red flags with a vacuum pump are leaks, hot temperatures, noise and excessive vibrations, all of which are indicative of developing problems. To prevent such issues from spiraling into more costly problems, perform the following steps after every three months of use:
- Check the packing for leaks: On vacuum pumps equipped with packing, you should expect a small amount of dripping. Too much dripping, however, is indicative of a system leak. If the system appears to drip too heavily, readjust the packing. Also check the mechanical seals to make sure that there is no system leak. If necessary, flush the seals with cleansing fluid.
- Check the temperature of the bearings: Make sure that the bearings do not exceed 140°F during normal operations. If the bearing temperature exceeds that level, the problem is likely the result of piping stress or misaligned couplings. Alternately, the problem could simply be a case where the bearings have been treated with too much grease. If the grease is old, it could easily be contaminated.
- Listen for excessive noise: If the vacuum pump makes strange or excessive noises, there is probably something wrong with one of the internal components. Misaligned coupling, a poorly anchored pump or issues with the bearing can all cause unusual noises. Listen closely and try to pinpoint the origin of the noise and then shut off the vacuum to make the necessary adjustments.
- Check for excessive vibrations: Another sign of internal issues in a vacuum pump is excess vibration, which is indicative of high volumes of internal pressure. Possible causes include high discharge pressure, high seal-liquid flow, insufficient airflow and water-filled casing during startup. Shut down the vacuum and make the necessary adjustments, then retry the vacuum.
- Inspect the motor amperage: A vacuum pump could also display problem issues if the electric currents are off. Check the motor amperage to make sure that the currents are neither too strong or too weak. If the amperage is excessive, it could be the result of excess discharge pressure or seal-liquid flow. High amperage can also stem from issues with the motor.
Vacuum Pumps From Quincy Compressor
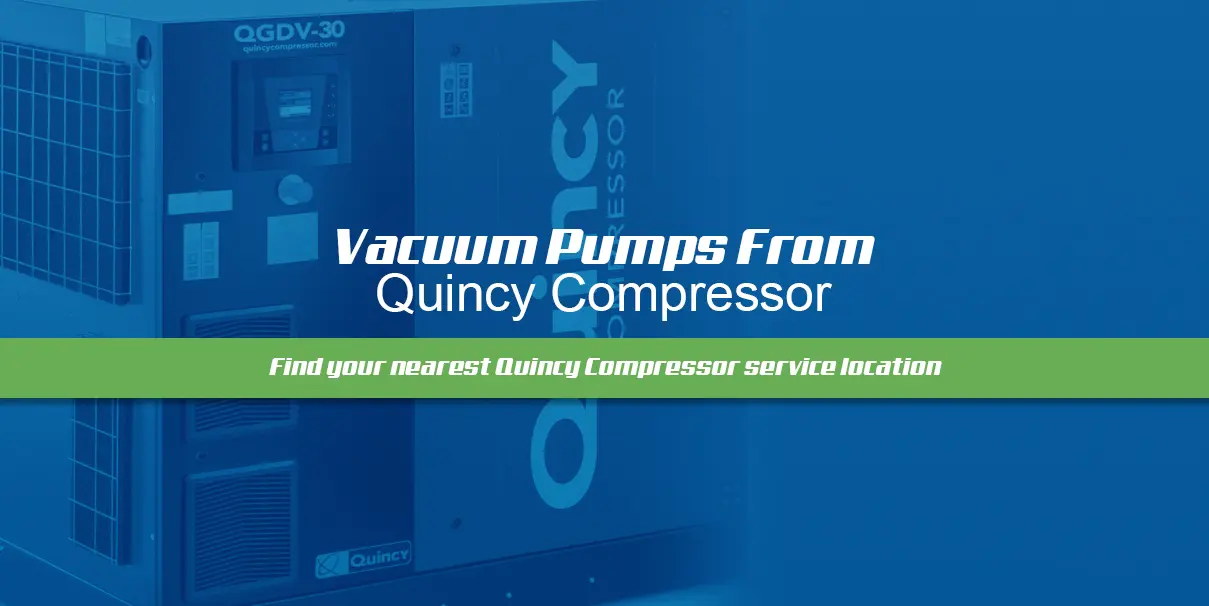
With proper attention and periodic inspections, a vacuum pump could be perhaps the most reliable machine in your arsenal. Regardless of your industry or whether you operate in a large or small-scale operation, a liquid ring vacuum pump could be one of the key components in your business. That said, vacuum pumps do wear down and need to be replaced from time to time. If the time has come to purchase a new vacuum pump, look no further than Quincy Compressor.
For nearly 100 years, Quincy has been the leading supplier of air compressors, pneumatic tools and vacuum pumps to professionals and independent craftspeople around the world. Whether you need a large or small vacuum pump, we have you covered. Your investment in a Quincy product will easily pay for itself through years of phenomenal productivity and unbeatable performance.
Now more than ever, people rely on technology to work nonstop for numerous processes, such as the pressurization of air. If a process goes down for even just a few hours, the users in question could face untold losses. To ensure that this never happens to you, always come to Quincy for your air compressor and vacuum pump needs. Find your nearest Quincy Compressor service location for assistance with installation and maintenance.