
When the time comes to turn off your sprinkling system and brace for the colder months of fall and winter, there are a few crucial steps to take beforehand. If you skip these steps, your sprinklers might not work as well, if at all, when you reactivate the system next spring.
So why is this so important? Simply put, water could linger in your irrigation system unless you blow that water out of the pipes. If you fail to blow out your pipes before the cold weather hits, the lingering water could turn to ice over the winter months. This article will tell you how to winterize a sprinkler system before you shut it off at the brink of autumn.
Contact Us Learn More Find a Dealer Near You
What Does It Mean to Blow Out Your Sprinkler System and Why Is It Important?
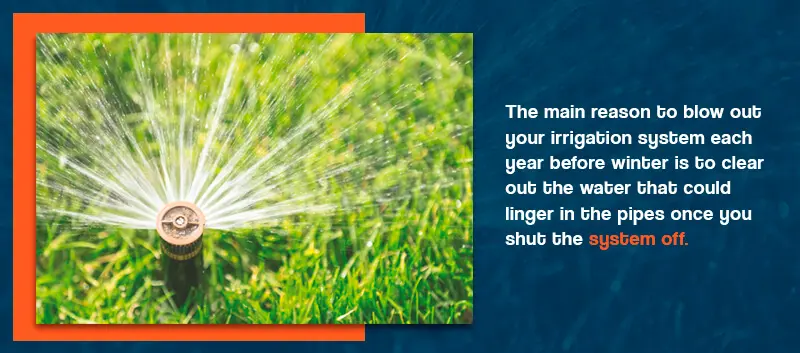
The main reason to blow out your irrigation system each year before winter is to clear out the water that could linger in the pipes once you shut the system off. With a proper blow out, the pipes will be cleared and dried out, avoiding the potential damage that standing water could cause amid the changing seasonal weather.
With a good blow out, there will not be any water in the pipes when your area goes through its winter cold spell. If temperatures drop to the subzero level, you won’t run the risk of ice formation within your irrigation system because there will be no water left in the pipes to freeze.
The components of an irrigation system are made to move water from a supply tank to your grass and soil. The pipes should not be holding lingering water for any prolonged length of time, as the water can cause the inner lining of the pipes to rot and corrode. By removing the all traces of remaining water inside your irrigation system, the pipes will not be vulnerable to mold buildup or corrosion.
Within an irrigation system, one of the worst things that can happen over the winter is the embrittling effect of frozen water on the interior walls of pipes. When pipes are not running water, they should be clear. With a blow out in advance of each winter, you can prevent your irrigation pipes from cracking.
In addition to the cleansing effects of a blow out through your irrigation system, this procedure will also help to ensure that everything works the following summer when you will need to have your sprinklers activated once again on a daily basis. By doing an annual blow out each fall, you can help avoid costly system repairs down the line.
The Role of Air Compressors in Blowing Out a Sprinkler System
With an air compressor, you can effectively clear out your irrigation system of lingering water at the end of each warm season. Before you shut the system off for the cold months of fall and winter, pressurized air can offer the necessary power to push out all standing water along each length and joint of your sprinkling system.
Water pipes are designed to run water, not store it. While you may have water in a constant state of flow in the pipes that serve your kitchen and bathroom, the same cannot be said of your irrigation system, which would only be in use during certain times of the year. With a cleansing blow out from an air compressor, your pipes will be clear, dry and generally free of trace water elements.
An air compressor can also help you maintain a proper flow throughout your irrigation system when the time comes next spring to reactivate your sprinklers. Pressurized air forces water through your pipes and out through the spouts, clearing away standing water that could ultimately freeze inside the pipes if left to linger throughout the winter months. While some people might assume that warmer weather will melt away any frozen water, the presence of ice itself is not healthy for the pipes.
Pressurized air can also perform a cleaning function through your irrigation system. Once the powerful air blasts through each section of the system, the pipes will be clear of residues that could lead to mold and corrosion during the months that the system lies dormant.
What Size Air Compressor Do I Need to Blow Out My Irrigation System
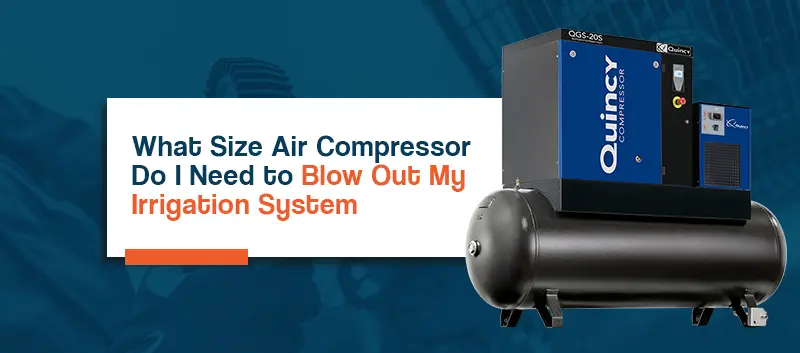
When it comes to sprinkler winterizing, one of the most commonly asked questions goes as follows — can I use my air compressor to blow out my sprinklers? If you have an air compressor with a cubic foot per minute rating in the range of 80 cfm to 100 cfm, the answer is yes. Granted, you will probably need to carry out the process on a zone-by-zone basis. Most of the reciprocating compressors in the Quincy line are suitable for winterizing irrigation systems of various sizes.
Step by Step Guide on How to Blow Out Your Sprinkler System with an Air Compressor
The following is a guide that will teach you how to winterize your irrigation system at the brink of autumn before you put your sprinklers away for several months. Before you proceed, be sure to have a hose for your air compressor, an adapter for the sprinkler bib, a pair of protective goggles for your eyes as well as any additional parts and fluids that your compressor might need for the task at hand.
1. Turn Off the Water

To successfully blow out your irrigation system, you will first need to shut off the water supply and perform a preliminary draining of the pipes. This way, the clearing process will be more thorough. The purpose of the air compressor is not to clear out a water-logged set of pipes but to clear out any water that remains once the pipes have been drained the natural way. After all, an irrigation system will largely clear itself out once you turn off the water.
However, it is not good practice to rely solely on letting your pipes drain naturally. There will usually be lingering water that remains in the system, barring the use of pressurized air. To ensure proper system health, you should first drain the pipes naturally and then conduct a blow out
2. Open Hose Bibs, Drain Water
Once you have shut off the water supply to your irrigation system, the next step is to open the hose bib located on the mainline of the sprinkler. This will release pressure on the pipes and stimulate the natural drainage of air. Without this step, water could remain logged within the pipes in greater quantities once you retire the system for the winter.
Give the water a few minutes to properly drain from your sprinkler system. Deepening on the size and scope of your irrigation setup, the drainage process could involve numerous pipes that each must be drained of water. If your system is especially large and spread out across your property, these steps could help you avoid maintenance costs that would otherwise be very costly for an irrigation system of that size and magnitude. Once the pipes have drained, you will then be ready to proceed with the actual blow out process.
3. Test the Air Compressor
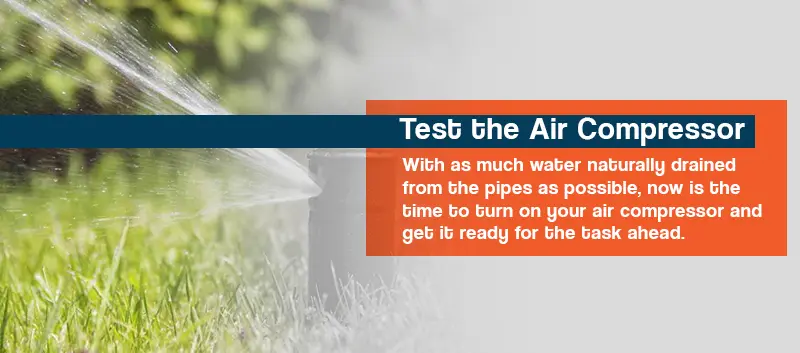
With as much water naturally drained from the pipes as possible, now is the time to turn on your air compressor and get it ready for the task ahead. The amount of power that you will ultimately need to blow out the sprinkling system may depend on the types of pipes involved. For pipes made of rigid PVC material, a pound-force per square inch (psi) of 80 is the general recommendation. For pipes made of black polyurethane, 50 psi will generally suffice.
As you prepare your air compressor for the upcoming tasks, check the owner’s manual for directions on how to set and charge the unit. If you have an extensive irrigation system, you probably won’t be able to blow out all the pipes at once, but you can accomplish the tasks zone by zone. With a compact, portable reciprocating compressor, you will need to set it up near the activity and apply the air hose to each zone, repeating the process until the entire system is blown out.
4. Prepare the Hose
Once you have the psi set on your air compressor, shut off the machine and close its valve. The purpose of the prior step was to get the machine ready and verify its psi power before proceeding to the next step, which involves linking the pieces together. At this point, you will need to have a lengthy hose to connect between the air compressor and your irrigation system. The hose must be flexible yet free of cracks or air leaks.
Make sure that your air compressor is clean on the inside before you proceed with the blow out. Drain the drip tray and clean the filter to prevent dust or mist from transferring through the compressed air system. If necessary, lubricate any internal parts that have not undergone maintenance in a while and check the belts to make sure that all the internal parts are in proper working order.
5. Attach the Hose
With the hose and the air compressor now ready, attach the hose to the bib located on the mainline of the sprinkler system. During this step, you might need to attach an adapter to the bib if fitting issues between the bib and the air hose arise. After all, most bibs are not designed with air compressors or air hoses in mind. In some cases, the two fittings will not properly align without the use of an adapter.
As you attach the hose, make sure the fit is snug and secure. You will need to ensure that the hose attachment is free of air leaks, as this would degrade the air pressure and render the blow out weak and insufficient. Remember, you will be using the compressor to effectively perform a dry cleaning through the pipes of your irrigation system, so the compressor and its attachments will need to perform at full capacity.
6. Activate the Air Compressor
With the hose properly connected between the air compressor and the irrigation system, it is now time to turn on your air compressor. To properly carry out the task zone by zone, make sure that the equipment is positioned to blow out the farthest sprinkler first. Set the system timer on your compressor to activate the sequence in a farthest-to-nearest order. By doing the farthest sprinkler first, you ensure that your setup is sufficient for the full task at hand.
If your irrigation system is spread out across high and low levels on your property, arrange the equipment to blow out the zones on the higher level first. This will allow you to test the overall power of your compressor’s settings, as well as the hose attachment. If the results are inefficient, you can then make adjustments to the compressor settings and hose attachment.
7. Open the Compressor Valve
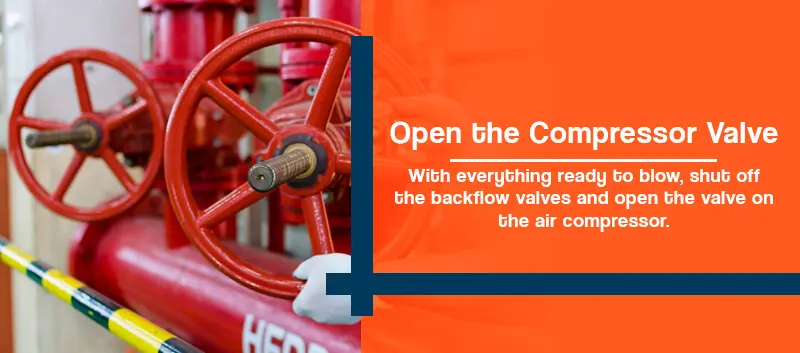
With everything ready to blow, shut off the backflow valves and open the valve on the air compressor. The air should be allowed to enter into the irrigation system at a steady rate. The air will need time to work its way through the various pipes, joints and spouts that comprise your sprinkling system. By the time this whole process is finished, you will probably notice wet spots on your lawn as well as re-dispersed ground debris or foliage in various areas.
Be careful around debris that could become mobilized during the blow out process. If you are anywhere near one of the sprinkling outlets while the air compressor is active, wear protective goggles to prevent debris from landing in your eyes. Be especially careful if the foliage or debris is piled up in thick concentrations across your yard.
8. Monitor the Blow Out Process
As the blow out progresses, monitor the progress and keep an eye on the pressure readings on your air compressor. The purpose here is to make sure the air pressure stays below the maximum level afforded by the machine, as anything above that level could strain the machine.
After some time, the airflow should become quieter as all resistance is blow out of the irrigation system. At the sprinkling outlets, the pressurized air should flow out freely once all the obstructions, namely water and pipe-lining residue, have been blown out of the pipes by the force of the air pressure. With that process now complete in the farthest zone, it is now time to repeat this process on the next area inward.
9. Move to the Next Zone
Once you completely blow out the farthest zone and have seen the initial effects of pressurized air on your piping system, move the process to the next zone. The time that it takes to complete the second zone should roughly be the same as with the prior zone. This time, however, you should have a better idea of what to look for and listen for while the blow out is in progress.
As the air compressor blows through the second zone, check the monitor once again to make sure that the pressure level does not exceed the maximum capacity of the machine. If this second zone contained a higher amount of trapped water beforehand, the process might be more intense this time around as the water is forced out of the sprinklers. Wait for the process to finish. When it becomes apparent that the sprinklers in this zone are only passing compressed air, it will then be time to move on to the next zone.
10. Complete the Blow Out, Zone by Zone
After you complete the second zone, the steps should be easy to remember. Move the process to the third zone inward and allow the pressurized air to enter into this part of the system. Watch the sprinklers in this zone to monitor the level of activity. Certain sprinklers will spout water as if the pipes are being blown out by forceful air pressure. This is a healthy development, as it proves that the pipes are being cleared of all the water and residue that would not drain naturally when you first shut off the system.
Remember to keep an eye on the monitor of your air compressor to make sure that the pressure level never exceeds the machine’s maximum threshold. Overall, each zone should require approximately two minutes of pressurized air to be cleared of lingering water and residue. In some zones, you might need to repeat the process once or twice to clear the pipes fully.
11. Stop the Blow Out

Once a zone has undergone the blow-out process for two minutes or more, the sprinklers in that section should be completely clear of lingering water. After you apply the pressurized air to the pipes in the final zone, you can mark the whole process as finished when the applicable sprinklers stop blowing out water. At this point, you should cease the blow out altogether, as pressurized air could put stress on the inner linings of clean, dry pipes.
From here, you can be confident that your pipes will be safe from water-related traumas during the winter months. When you reactivate your sprinkling system the following spring, the sprinklers should come back on after months of disuse without any performance issues.
12. Disconnect the Equipment
With the blow out completed across the entirety of your irrigation system, it is now time to disconnect the hose from the bib and the now-deactivated air compressor. During this step, make sure that any lingering air pressure is released from the line, as it could ultimately prove problematic if a trapped pocket of pressurized air remains trapped indefinitely. Unplug the air compressor from its power source and return the unit to its normal storage space. Roll up the hose and return it to the place where you store the attachments for your air compressor.
As you wrap up the job and call it a day, be sure to check the instruction manuals that came with your equipment. If there are any recommended steps to follow for the compressor or any attachments, complete them as listed.
Congratulations — you now know exactly how to blow out a sprinkler system with an air compressor and can complete this process on an annual basis to protect your sprinkler system from damage.
The Right Air Compressors for the Job

Every year as winter approaches, you should have an air compressor on hand to blow out any lingering water from the pipes of your irrigation system. This way, you can protect the system’s health and keep the pipes working properly for many years to come. At Quincy, we sell a range of rotary screw air compressors and reciprocating air compressors that are perfect for this job. Explore our catalog to learn more about each model and contact us today for a quote.